The Envelope Editor is a simple, vector-based editor, where a sequence of connected control points defines an envelope. The Envelope Editor in AudioNodes has no limit on the number of control points.
It’s used on the following Nodes:
- Envelope Node – edit an envelope on the Timeline directly, to create control signal changes over longer periods of time
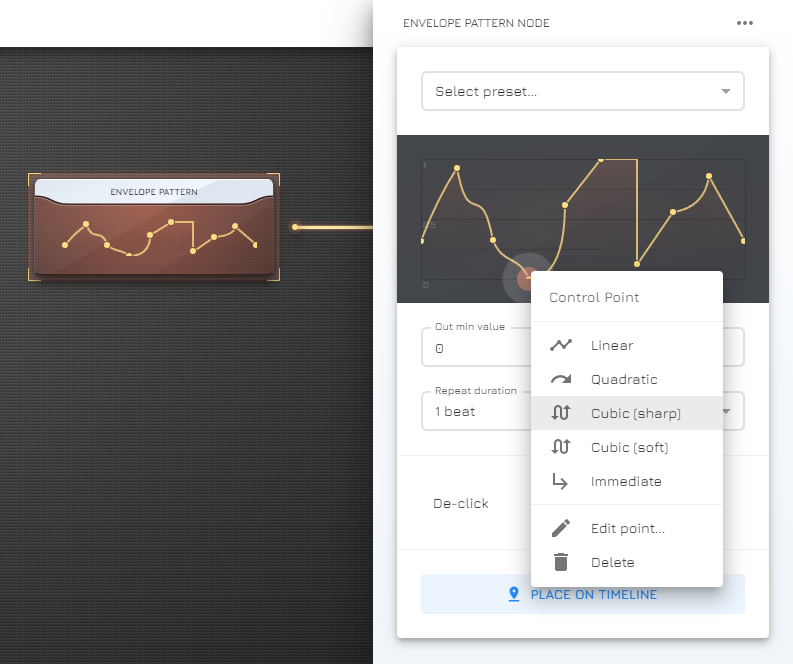
- Envelope Pattern Node – edit an envelope pattern on the Node’s settings panel, which will periodically repeat, useful for custom rhythms created using parameter automation
- Velocity Envelope Node – edit an envelope on the Timeline directly, to shape the velocity of a sequence of notes (e.g. those from a Piano Roll Node)
- Waveshaper Node – edit an envelope on the Node’s settings panel to apply a wave-shaping distortion to a signal
Creating Control Points
Click or tap on empty area inside the envelope editor to place a control point.
In the case of the Envelope Node, the envelope can be edited on the Timeline. To enter edit mode, right click on the Envelope Clip, then choose Edit (for touch screens: tap the Envelope Clip, then tap on the edit button that appears over it).
Envelope Node docs page
The vertical position of the control point denotes its value, which, in most cases, is what the envelope’s output value will be at a given time. Higher means a higher value. The horizontal position of the control point denotes its timestamp. This (again in most cases), marks when the control point will take effect. Further to the right means later.
When you create a control point, it’s automatically connected to its neighboring control points (if any), to form a continuous envelope.
Moving & Editing Control Points
You can simply drag control points around to move them. This will change their timestamp and value at the same time, depending on the drag direction.
Additionally, you can position control points with increased precision from their menu. Right click on a control point to open it, then choose Edit point (on touch: tap the point, then tap the triple-dot menu that appears above). This will open a dialog where the control point’s timestamp and value can be set by hand.
There are 2 more options to explore here:
- Type, which defines the shape of the control point’s preceding line (the line to the left)
- Curve, which is sets the transition property of the control point’s preceding line, depending on the control point’s type
- This setting has no meaning for Linear and Immediate control points
- For Quadratic and Cubic control points, the curve can be adjusted by dragging the small hollow circle halfway between the current control point and the previous one
There are 5 control point types:
- Linear – defines a linear transition between 2 control points
- Immediate – the full transition between 2 control points takes up the value of the previous control point, then changes immediately at the 2nd control point to its value
- Quadratic – defines a quadratic interpolation between 2 control points, which is a single continuous curve
- Cubic – defines a cubic interpolation between 2 control points, which is a double “wavy” curve
- Soft cubic – same as Cubic, but the transition is softer at the middle