The Timeline is a centralized view to overview and schedule various Nodes in time, including audio files, MIDI patterns, and automation envelopes. It appears as a typical multi-track timeline, something you are probably familiar with from other audio software.
In AudioNodes, each Track on the Timeline belongs to a Node created on the Patcher:
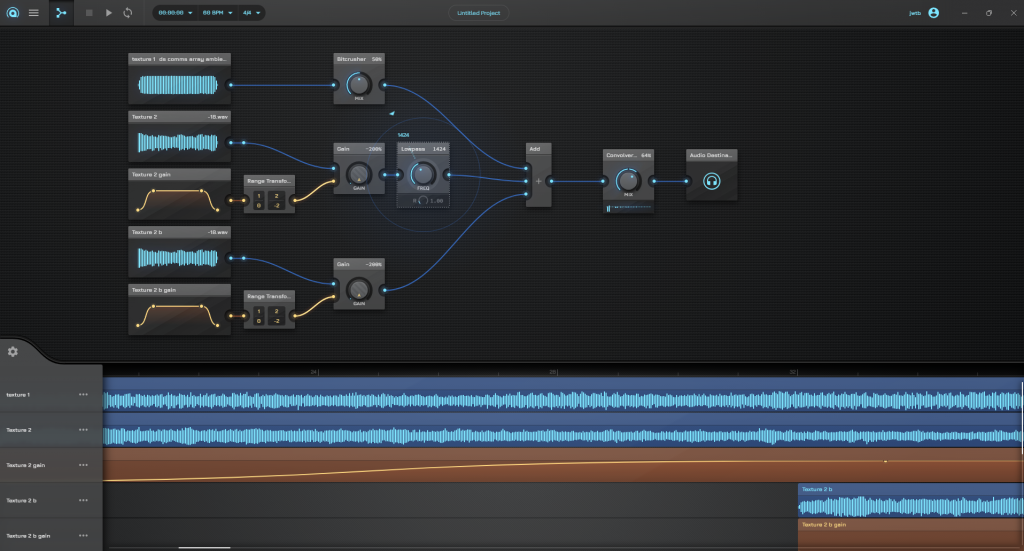
When you edit a track on the Timeline, you are effectively editing the Node it belongs to, and your changes will be reflected in that Node’s output.
Timeline Basics & Navigation
The Timeline in AudioNodes goes from left to right, and uses the same basic principles and drag-based navigation as the Patcher:
- Left-click & drag on empty area to move the viewport
- Or middle-click & drag anywhere to move the viewport (useful when there is a lot of content)
- Left click on a Clip to select it
- Right click on a Clip for more options
- On touch devices: click/tap the Clip to reveal its menu at the top
- Drag a Clip to move it in time
- Drag the edge of a Clip to trim/extend it
Some shortcuts unique to the Timeline:
- Shift + left-click + drag vertically to slice Clips
- Ctrl/Cmd +left-click + drag horizontally to loop playback
Getting Started with the Timeline
This article is more of a hub to get you started, the following links will explain the Timeline in more detail: