The editor is highly customizable, although these settings are not part of the project nor the user preferences; they reset when the app is closed.
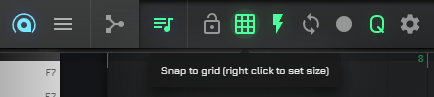
Snap to Grid
When enabled, placed notes are snapped to grid by their start time; right-clicking the button opens the customization dialog.
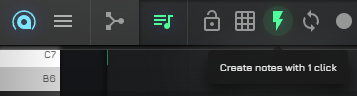
Create Notes with One Click
Basically, new notes can be created by double click or tap, but toggling one-click add is also an option, just click / tap on the high voltage icon.
Lock editing
When set, editing is disabled. This is useful to prevent accidental modifications.
Repeat
When set, shows a window that lets you define a region to repeat for the entire project duration.
Holding Ctrl/Cmd and dragging on an empty editor area can also be used to set the repeat region quickly.
Start recording on play
When set, recording starts along with playback.
Play note when moving
When enabled, the note or selected note group will play when moved or placed.