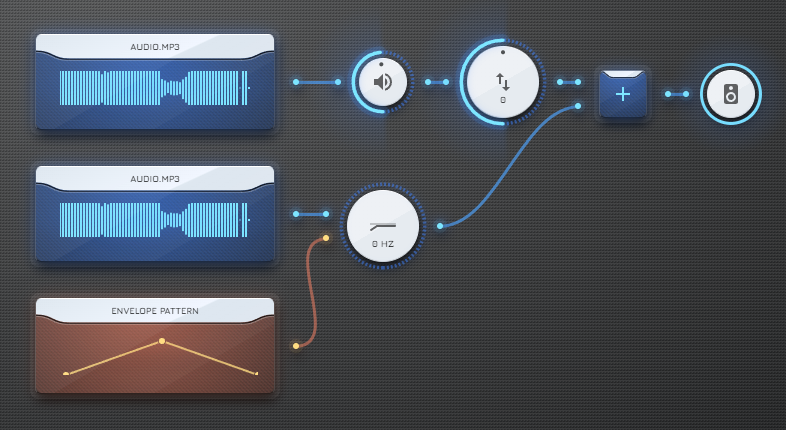
The Patcher is the main stage in AudioNodes.
It’s where you create, edit, and connect Nodes, the basic building blocks of AudioNodes. It’s very similar – and in many ways, identical to – a modular synthesizer.
Adding & Editing Nodes
With Mouse & Keyboard
- Right click on empty area to open the node browser, click on a category to expand it, then click the Node you want to place
- Left click on a Node to select it
- Hold Ctrl while left-clicking to toggle-select the Node, and keep your previous selection
- Hold Alt, then left click & drag on empty area to select multiple Nodes in an area
- Click on empty area to deselect everything
- Right click on a Node to open its menu, revealing common editing tools like copy, delete, as well as access to the Node’s properties
- Double left-click on a Node to reveal its properties faster
- Right clicking on a Node will also select it
- Left click on the output of a Node (small dot to its right), then left click on the input of another Node (small dot to its left) to create a connection
- Alternatively, you can drag an output onto an input, which’ll do the same
- You can also do this the other way around, i.e. click 1 or more inputs, then click an output; you can create multiple connections at once this way
- Click on a connection to open its mini-menu – you can delete connections from here
- Shift + left click + drag on empty area to cut connections with your cursor
- Drag a Node with left click to move it around
- Some Nodes have sliders around them. When you drag this slider, it’ll adjust the “main setting” of the Node, instead of moving it around. Drag this slider outwards for increased precision.
On Touch Devices
- Touch and hold on empty area, until the circle completes, revealing the node browser. Tap on a category to enter it, then tap the Node you want to place.
- Tap on a Node to select it, and reveal additional settings in the header
- This replaces the header with the Node menu, until the Node is deselected
- Touch and hold buttons in this menu to reveal their tooltip, explaining what they do
- Hit the multi-select button (double checkmark icon) to enable multi-select. When multi-select is enabled, tapping on Nodes will toggle-select them, and keep your previous selection.
- Tap on empty area to deselect everything
- Touch and drag a Node to move it around
- Some Nodes have sliders around them. When you drag this slider, it’ll adjust the “main setting” of the Node, instead of moving it around. Drag this slider outwards for increased precision.
- Tap on the output of a Node (small dot to its right), then tap the input of another Node (small dot to its left) to create a connection
- Tap on a connection to open its mini-menu. You can delete connections from here.
Navigating the Screen
Navigating the Patcher is similar to navigating the Timeline, except the screen is unlimited in all directions. Note that you must first have at least 1 Node placed for navigation to have any effect.
- Drag empty area to move the screen around (left or middle click with a mouse)
- Use the mouse wheel to zoom in/out
- Pinch zoom on touch devices
- If you get lost, hit the reset viewport button in the bottom left corner
Guides & Tutorials
The following docs cover practical uses of the Patcher: